 |
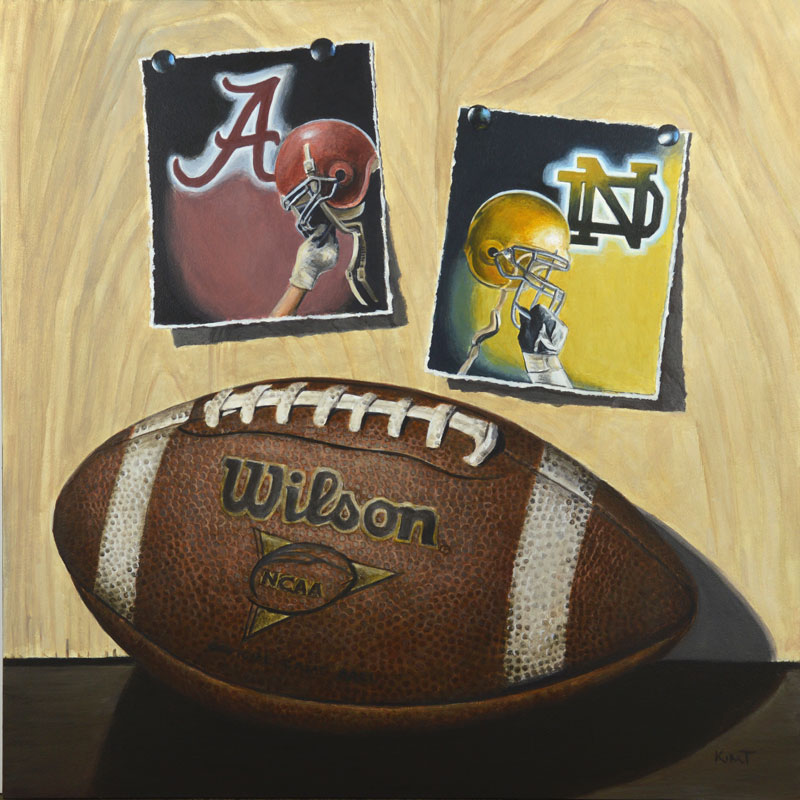
| "Football Rivals," commission, acrylic on panel, 12" x 12", by Kim Testone. |
If you read part 1 of this series on mixing acrylic colors, you learned how to begin to combat the problem of color shift - the difference in the appearance of wet acrylic colors versus dry. In today's post, I thought I'd share the simplest and best trick I've found to keep myself from making fewer color mistakes on my painting surfaces.
What is it? Just a simple piece of white foam board that sits on my easel.
 |
| My foam board paint testing ground on my easel, behind a painting in progress. |
This simple trick worked like a charm. Now, I use this method pretty constantly in my painting process, because the colors I see in my mixing cups look very different wet and in the cup then on my painting surface.
If you look at the above photo, you'll notice a grouping near the upper center of the foam board shown where there are several shades of a purple gray grouped together. This was me working from a single cup and tinting the same cup over and over with various colors until I got the right one.
I find this to be an especially helpful tip for getting light colors correct, particularly whites, off-whites and grays, which I almost always initially mix far darker than I want. But it's great for any color you are planning to mix in a larger quantity to cover a larger area - as we discussed in part 1.
 |
| The "fur" on the illustration in this painting ended up being a mix of burnt sienna, cadmium orange and titanium white. I swiped my color mix on the foam board just to the left of the painting and let it dry to make sure it was the color I wanted before I painted my panel. |
1. Make sure you have adequate lighting and let the paint dry thoroughly before you start using it.
2.I prefer to use a non-coated piece of foam board, which more closely mimics the absorbency of a gessoed painting surface.
3. I frequently make mistakes in my cups of color mixes, so I just keep adjusting until it looks right on the board first. Don't just settle!
4. If the cup starts to get too full of the wrong color, scoop some into another cup and start from there. It's a lot easier to fix a small cup of the wrong color than a large one, and you won't waste as much paint.
I hope this makes your acrylic color mixing experiences a little easier! Happy Painting!
Click here to read Part 1 of this series.